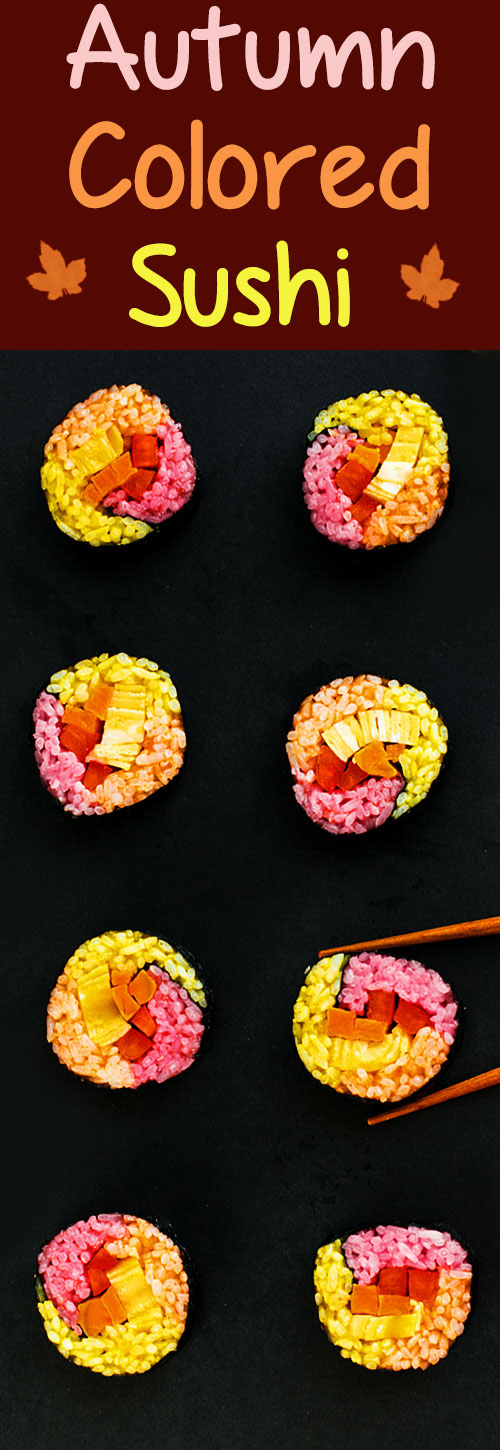
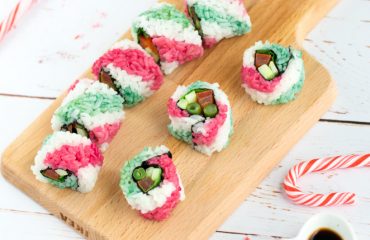
Wow your friends & family with these beautiful Autumn Colored Sushi Rolls – a showstopping fall recipe that anyone can master!
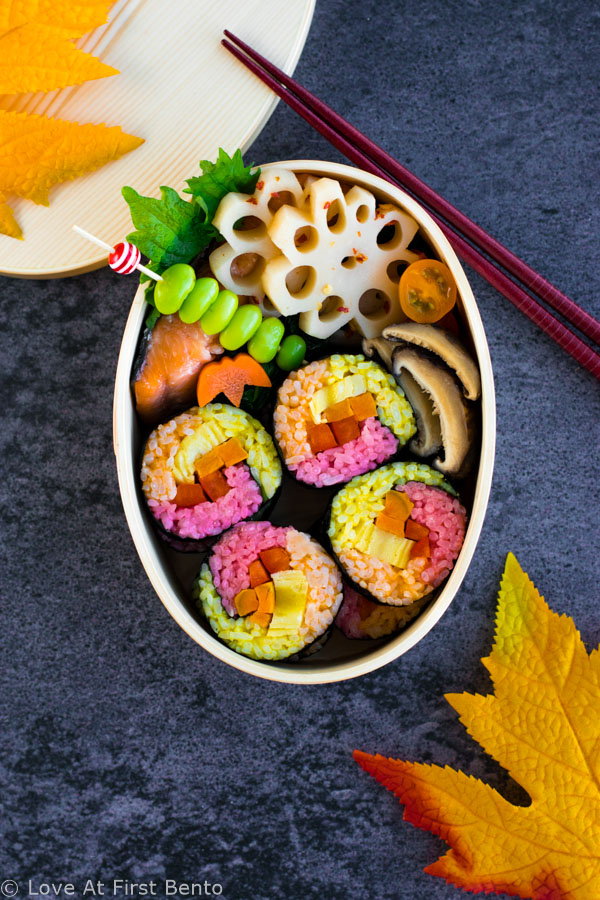
Can you tell I’ve been a little obsessed with fall colors lately? I’ve been having way too much fun experimenting with new ways to incorporate that natural autumn ombre effect into all of my food – if you were to open my fridge right now, you’d be greeted by a visual monsoon of red, orange, and yellow. I probably need help. But, before you send help, can we just take a second to admire these autumn colored sushi rolls? They are the newest addition to my fall fridge collection, and I daresay, they may be my best creation yet.
There exists a multitude of reasons to worship these autumn colored sushi rolls, including but not limited to:
- Their drop-dead gorgeous coloration, which is achieved with 100% natural dyes.
- Their versatility: you can fill these beauties up with whatever fillings your heart desires!
- Their guarantee to provide you with boatloads of compliments (because, let’s face it, we all like compliments).
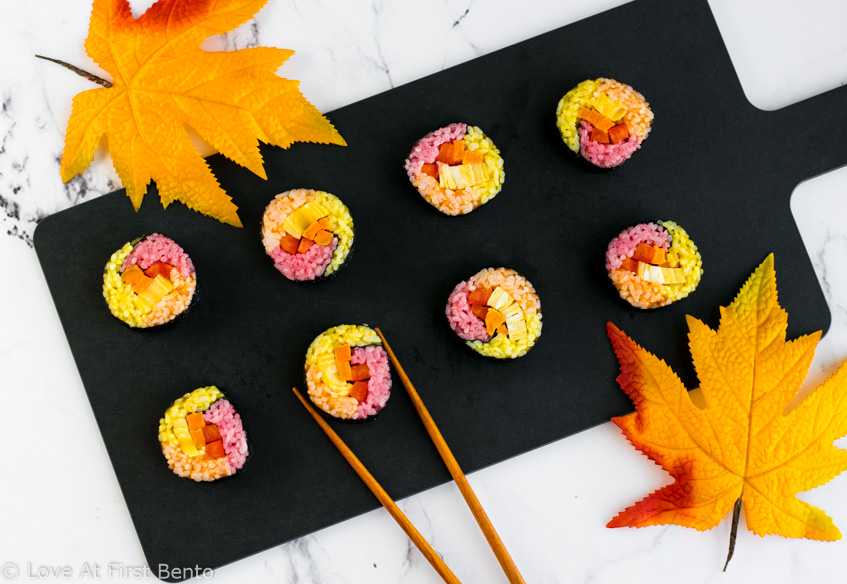
I mean, if you’re looking for a way to really WOW somebody, then autumn colored sushi has you fully covered. Oh, what’s that? You say these would be perfect for a fall themed sushi party? Oh my god DO IT. Your popularity will skyrocket. You’ll be crowned the fall god/goddess till the end of time. People will bestow upon you endless gifts of pumpkin spice. <– reasons for making these just quadrupled
But I bet your inner voice is whispering terrible things to you right now, like “these are probably way too much work”, or “you couldn’t possibly make those”. STOP RIGHT THERE inner voice. I’m here to tell you that you totally 100% can make these, and here’s why: making these only requires ONE extra step compared to making normal, uncolored sushi. And it’s a super easy, I-could-do-it-in-my-sleep kind of step.
That one step consists of dividing your rice into 3 portions, and then adding and mixing in the natural dyes used to give the sushi their glamorous autumn makeover. So put down that pumpkin spice latte you’re sipping on right now and let’s make some sushi!
Watch how to make Autumn Colored Sushi (40 sec):
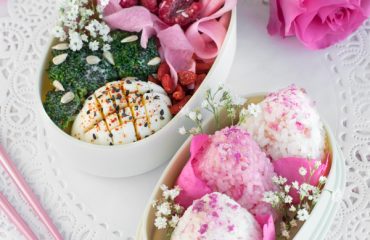
To fill my autumn colored sushi bento box, I went with more traditional sides of grilled salted salmon, spicy pickled lotus root, spinach gomaae (sesame spinach), soy sauce glazed shiitake mushrooms, and an edamame pick for that extra pop of color. I filled my sushi with tamagoyaki, maple roasted sweet potato, and red bell pepper (100% vegetarian, heck yeah!), but, as I mentioned before, you can easily fill your sushi with whatever fillings you’d like. Get creative (or check the recipe down below for a few different ideas)!
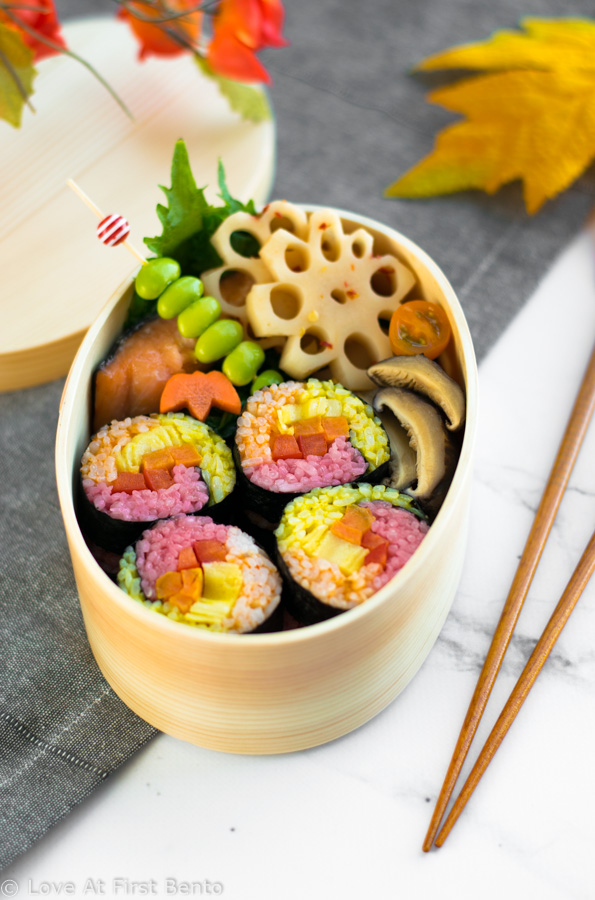
So go ahead, bask in the beauty that is autumn colored sushi. The ruby red, dusky orange, and golden yellow rice makes for a showstopping celebration of autumn colors, and will transform your lunch from drab to full-blown fab in an instant. And here you thought pumpkin spice was the only fall food group. 😉
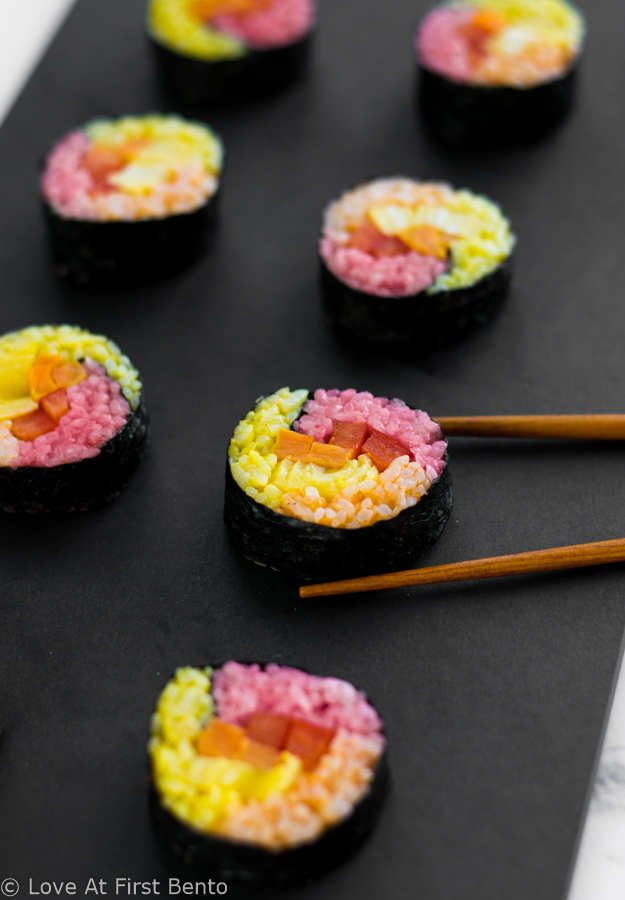
Autumn Colored Sushi
 Yield: 6 - 8 Sushi Rolls
 Category: Sushi
Description
Step-by-step instructions teaching you how to make autumn colored sushi – red, orange, and yellow rice rolled up with your favorite sushi fillings. 100% natural dyes are used to color the rice, making this a truly beautiful & delicious celebration of fall colors!
Ingredients
Food Items:
- ~ 1.5 cups cooked sushi rice (with sushi vinegar added)
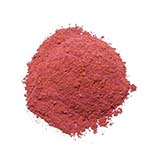
- Beet powder
- Sriracha (can substitute carrot powder if you don’t like spice)
- Turmeric
- Nori seaweed
- Your choice of fillings (see Recipe Notes for ideas!)
Recommended Tools:
- Bamboo sushi rolling mat
- Plastic wrap
Instructions
Dying the Rice:
- Divide warm, cooked sushi rice into 3 equal portions.
- Red Rice: In a small bowl, combine 1 – 2 tablespoons of warm water with beet powder; start by adding the beet powder a 1/2 teaspoon at a time, adding as much as you’d like until desired red color is achieved. Add your homemade dye to one portion of rice and mix until evenly colored.
- Orange Rice: Add sriracha to one portion of rice and mix until evenly colored. Start with 1 tablespoon of sriracha, then add more (if necessary) until you get the desired orange color.
- Yellow Rice: In a small bowl, combine 1 – 2 tablespoons of warm water with turmeric; start by adding the turmeric a 1/2 teaspoon at a time, adding as much as you’d like until desired yellow color is achieved. Add your homemade dye to one portion of rice and mix until evenly colored. If you find the yellow isn’t as bright as you’d like, sprinkle a bit of turmeric on top of the rice and mix.
Assembling Sushi:
- Spread out your bamboo sushi mat so that the slats are horizontal, then place a sheet of plastic wrap over top, followed by a sheet of nori (make sure the shiny side is facing DOWN).
- Add red rice on top of the nori edge that’s closest to you. Wet your hands with water and spread the rice out evenly with your fingers, until you have a horizontal strip of red rice.
- Add orange rice on top of the nori, right above the red strip of rice. Wet your hands with water and spread the rice out evenly with your fingers, until you have a horizontal strip roughly equal in size to the red one.
- Add yellow rice on top of the nori, right above the orange strip of rice. Wet your hands with water and spread the rice out evenly with your fingers, until you have a horizontal strip roughly equal in size to the red & orange ones. Make sure you leave about a 1 inch space of nori at the end of your sushi roll.
- Place your fillings in the middle of your colored rice, making sure to keep them tight together and horizontally aligned.
- Grab the part of the sushi mat that’s closest to you and begin to roll your sushi away from you. Aim to cover your fillings with the first roll, then continue rolling until there’s no nori left, using the bamboo mat to tighten and shape the roll along the way. Adding a little bit of water along the vacant edge of nori at the end of your roll will help things stick together better. I learned how to roll sushi using this helpful video.
- With a sharp, wet knife, cut your sushi roll in half. Re-wet the knife by wiping it clean on a damp towel, then cut each half roll into 3 – 4 sushi rolls. Be sure to wet your knife again in between each cut.
Notes
- Here are some sushi filling ideas you can use in this recipe: veggies such as carrot, sweet potato, cucumber, mushroom, bell pepper, pea shoots, avocado, asparagus, kanpyō, or radish; proteins such as smoked salmon, tuna salad, imitation crab sticks, tamagoyaki, beef or turkey soboro, spam, tempura shrimp, or fried tofu skin.
- When coloring your rice, feel free to add as much or as little color as you like. I honestly just eyeballed the whole process, so use the measurements provided as a starting point. Your eyes are the best tools for telling you when you have the right color!
© Love At First Bento. All images and content on this site are copyright protected. Please do not use any image without my prior permission. If you’d like to share this recipe on your own site, you are required to (1) link back to this post and (2) rewrite any instructions in your own words.
PS: Can’t get enough fall themed food? Then you’ll LOVE these pumpkin spice onigiri and this autumn squirrel bento box.

Comments (6)
Stunning photos Shannon!! Thanks for another great vegetarian bento. Keep up the great work!
★★★★★
Thank you so much! This bento does contain a piece of salted salmon in it, but otherwise the sushi are completely vegetarian. They can be filled with whatever tasty fillings you’d like though, making them very customizable 🙂
Delicious looking bento!
Thank you Nobuko! 😀
I’m pinning this !!!!
Awesome, thank youu! <3 Hope you give it a try some time 🙂