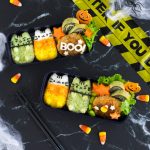
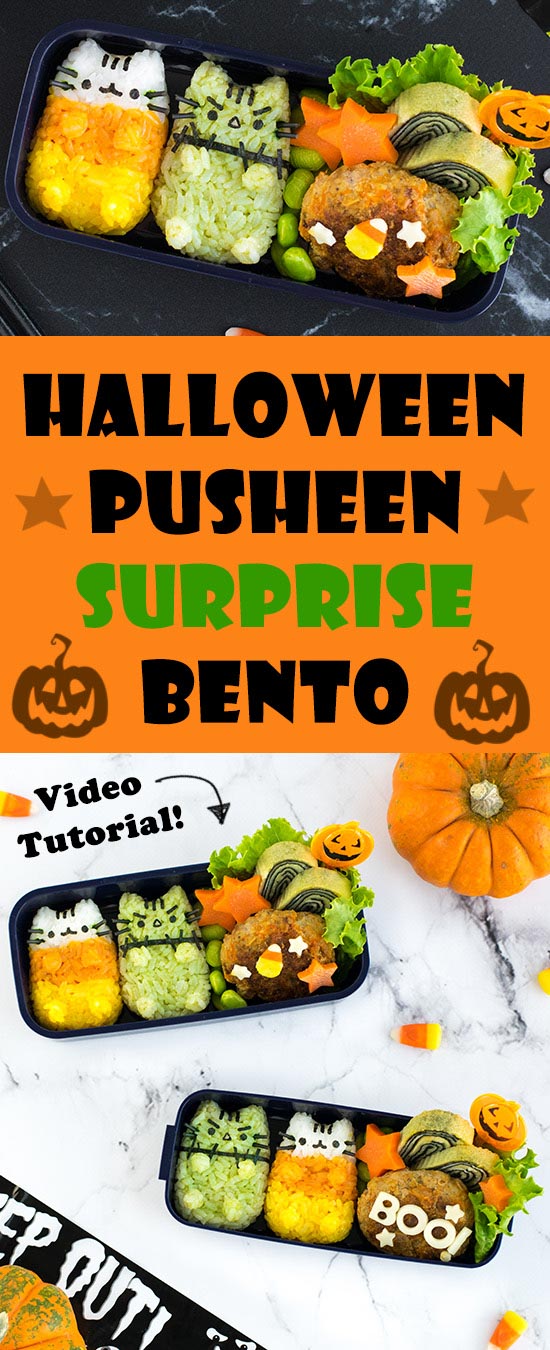
Experience the fun of Pusheen Surprise Boxes in your lunch, thanks to this Halloween Pusheen Surprise Bento Box! Find out the one essential tool I use to easily shape Candy Corn & Frankenstein Pusheen out of rice – it does 95% of the work for you!
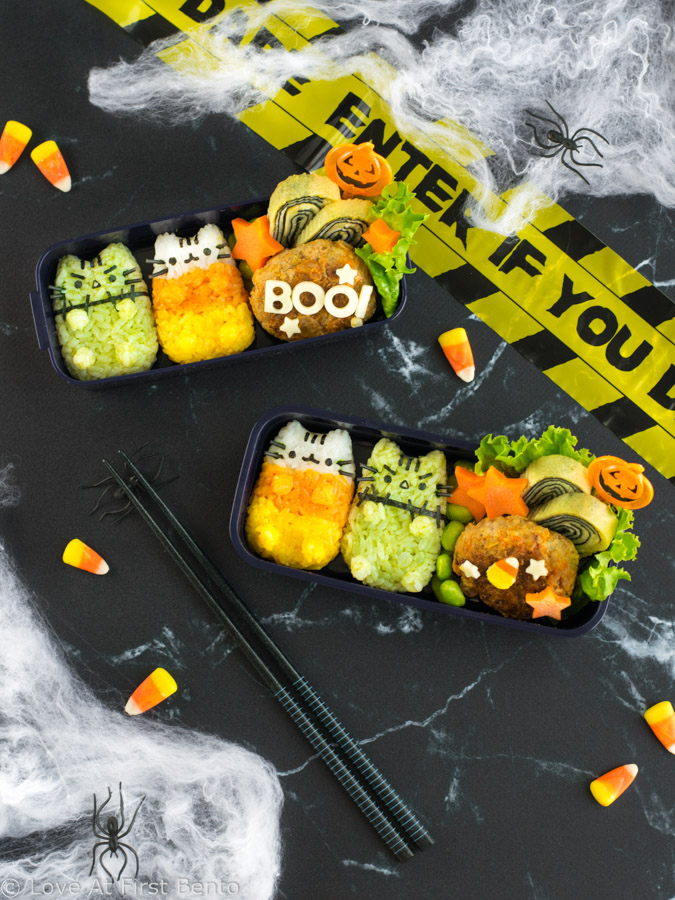
Have you got your hands on a Halloween Pusheen Surprise Plush yet? Ever since the Halloween “Trick or Treats!” series was revealed, I have been dying to add the Candy Corn Pusheen to my plush collection. So far, my Pusheen wishes have not yet been fulfilled; my one and only surprise box contained Mummy Pusheen (which I still totally love <3). Relentless in my pursuit, I decided to take matters into my own hands and make edible versions of my favorite Halloween Pusheens; the result is this Halloween Pusheen Surprise Bento Box, which features none other than the elusive Candy Corn Pusheen and Frankenstein Pusheen (AKA “Frankensheen”). This bento will make you OD on cute. How do I know? Let’s just say this post is being written from up in Pusheen Heaven.
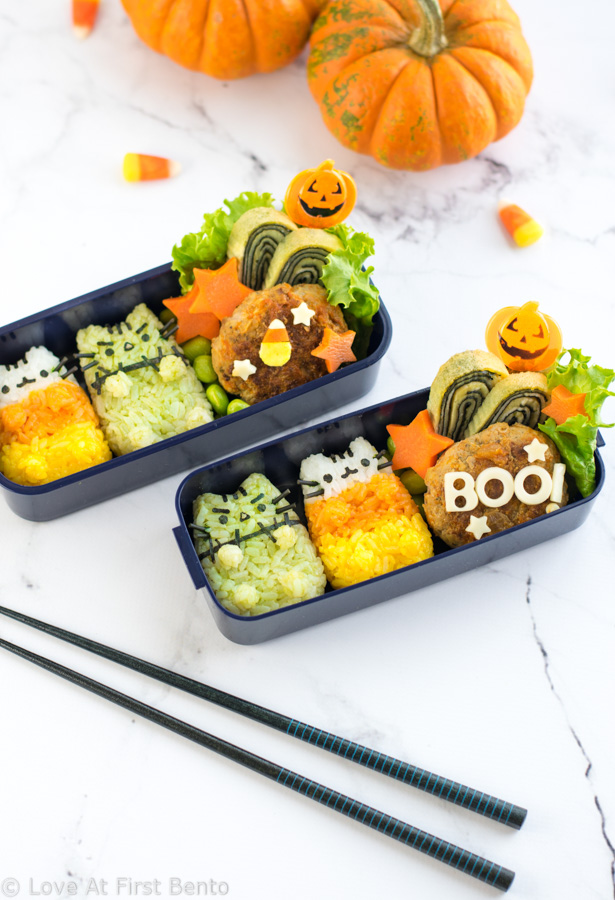
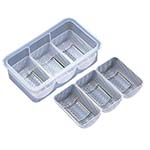
And if you think shaping a bunch of little Surprise Pusheens out of rice is way too much effort, then think again: we’re going to use a rice mold to do 95% of the work for us! This nigiri sushi mold is truly the ultimate Pusheen bento tool – I used it to make the Pusheenosaurus bento box too – and it’s capable of creating 3 perfectly sized Surprise Pusheens in 1 go (hint: that’s more than enough to fill one bento box). And those spooktacular Halloween colors? All natural. Here’s the lowdown:
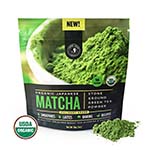
- Frankenstein Pusheen is given her ghoulish green hue thanks to matcha green tea powder. The same dye method is used to make the Pusheenosaurus Bento Box, which includes a video tutorial showing you exactly how to make this homemade green dye.
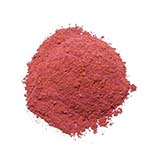
- Candy Corn Pusheen obtains her orange and yellow stripes from two ultra healthy ingredients: beet powder and turmeric. You can check out exactly how to make these dyes in the Candy Corn Onigiri tutorial.
Watch how to make Halloween Pusheen Surprise Bento Box:
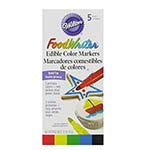
For the facial features and decorations, all you need is nori seaweed + this cat face nori punch. You could also make the whiskers out of nori, but I decided to go for a more 3D effect by coloring uncooked spaghetti with a black food marker. Just be careful when inserting the colored whiskers into the rice, as the dye can easily discolor the surrounding rice. To help avoid this, allow your colored spaghetti noodle to fully dry before inserting the pieces into your Halloween Surprise Pusheens.
The rest of this bento box was filled with edamame, nori tamagoyaki, carrot stars, and a mini spicy pork burger (with spicy ketchup on the side). Whenever you have rather blah looking brown food in your bento (such as burgers), liven it up by adding cute cheese or veggie shapes, such as stars and hearts. Since this was a Halloween bento, I used my alphabet cutters to spell out “BOO!” with white cheese, surrounded by more mini cheese stars for extra cuteness. The other burger sports a mini candy corn made from white cheese, carrot, and some leftover yellow dyed chicken ham I had from making my Sailor Moon Noodles.
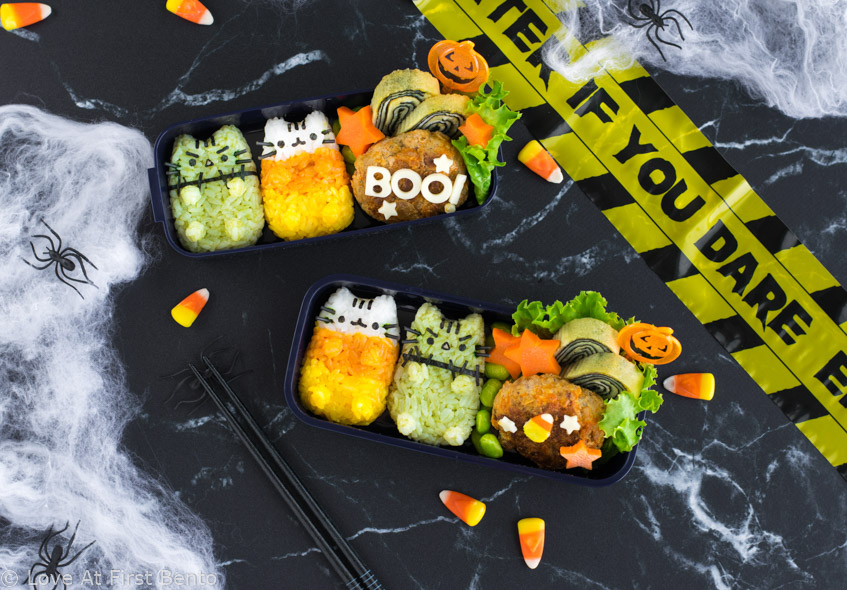
So, if the nearest Hot Topic is sold out of Halloween Surprise Pusheen Plush Boxes, why not try making this Halloween Surprise Pusheen Bento Box instead? You’re guaranteed to get you very own Candy Corn and Frankenstein Pusheen, and it’s one of the cutest ways I can think of to get into the Halloween spirit! The only thing that could possibly make this Pusheen perfection even better: opening up a Halloween Pusheen Surprise box while eating it 😛 An optional activity, but ever so highly recommended.
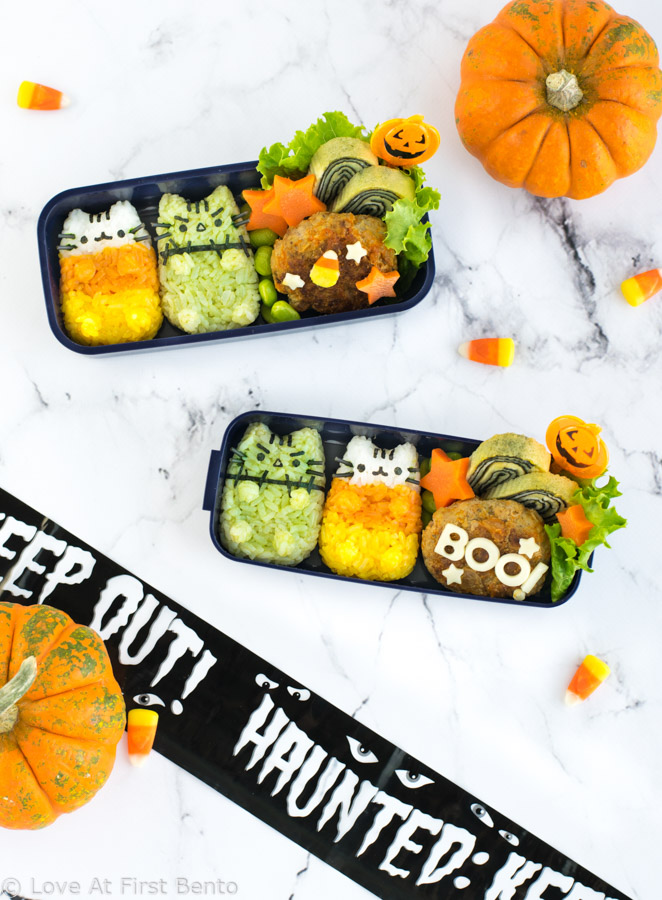
Which Halloween Pusheen Surprise Plush is YOUR favorite? Let me know in the comments below!
Halloween Pusheen Surprise Bento Box
 Yield: 6 Rice Pusheens
 Category: Character Bento
Description
Step-by-step instructions for making your very own adorable Halloween Pusheen Surprise Bento Box! Learn how to use a rice mold to create Candy Corn Pusheen and Frankenstein Pusheen – the mold does 95% of the work for you! Plus, only 100% natural dyes are used to give the Pusheens their festive colors. The ultimate Halloween lunch for any Pusheen fan!
Ingredients
Candy Corn Pusheen:
- ~ 1/3 cup yellow dyed rice (recipe can be found here)
- ~ 1/3 cup orange dyed rice (recipe can be found here)
- ~ 1/3 cup cooked Japanese short-grain rice
- Nori seaweed
- 1 uncooked spaghetti noodle
- Black food marker
Frankenstein Pusheen:
- ~ 1/2 cup green dyed rice (recipe can be found here)
- Nori seaweed
- 1 uncooked spaghetti noodle
- Black food marker
- 1 small piece of ham (optional)
Recommended Tools:
- Nigiri sushi mold
- Cat face nori punch
- Plastic wrap
Instructions
Candy Corn Pusheen:
- Using the cat face nori punch, punch out the design from the nori until you have 3 sets of eyes, 3 nose/mouths, and 9 whiskers (these will become Pusheen’s forehead stripes) – this will make enough for 3 Pusheens total.
- Optional: Take the nori nose/mouth piece, and, with scissors, carefully cut off both sides of the nose, until you are left with only a straight line sticking up from the mouth.
- Take the uncooked spaghetti noodle and color it black with the black food marker. Allow to dry, then break it into 12 “whiskers” (approximately 0.5 cm long) – this will give you enough whiskers for 3 Pusheens (each Pusheen requires 4 total).
- Add a stripe of white rice longways across the bottom of the nigiri sushi mold, so that it fills up 1/3 of the mold. With the back of a rice paddle, spoon, or chopstick, gently press down the rice until it forms a relatively smooth, flat “stripe”.
- In the empty space left above the white rice stripe, add a strip of orange rice (reserve about 1 teaspoon of it for later). Press down with the back of a chopstick or rice paddle to form a relatively straight, flat orange “stripe” that spreads right across the middle of the entire mold. Make sure to leave room for the final yellow stripe at the top.
- In the empty space left above the orange rice stripe, add the yellow rice (reserve about 1 teaspoon of it for later). Use the back of a chopstick or rice paddle to press it down into the gap and fill in all the crevices completely.
- Place the top piece of the mold onto the rice, and press it down until it connects with the piece that’s filled with rice. Carefully remove the mold from it’s rectangular holder, remove the top piece, flip over, and gently push against the push indentations on the bottom of the mold until the 3 rice cylinders slide out. Do this over top a plate lined with plastic wrap. Fully wrap each rice cylinder in a fresh sheet of plastic wrap.
- To shape the body: Press down with your pinky finger into the white end of the rice cylinder, until the beginning of 2 ears start to form on either side of your pinky. Lay the cylinder on a flat surface and, with the palm of your hand, gently “squish” the entire cylinder. Use your fingers and hands to smooth out the edges, until you’re left with a fat oval shape. Use your thumb and index finger to pinch and pull at the ears, until they become a little more pointy and defined.
- To shape the paws: Place 1/2 teaspoon of reserved orange rice onto a small square of plastic wrap, and wrap fully. Press the rice together with your fingers (to make it more compact), and roll it around gently in the palm of your hand, until a tiny ball is formed. Smooth out the ball with your fingers as needed. Repeat with the remaining 1/2 teaspoon of orange rice to make the 2nd paw. Repeat this entire step with the reserved teaspoon of yellow rice to form the remaining back 2 paws.
- Repeat Steps 7 & 8 to shape the remaining 2 rice cylinders.
- Using tweezers, apply the nori eyes, nose/mouth, and forehead stripes onto the white portion of the Candy Corn Pusheen body. Carefully insert 2 black spaghetti whiskers on both sides of Pusheen’s face.
- Using tweezers or chopsticks, apply the orange front paws onto the orange part of the body, and the yellow back paws onto the yellow part of the body. Feel free to use honey to help them stick better, or insert a small piece of uncooked spaghetti into the back of each and insert them into the rice like you would a pushpin.
- Repeat Steps 11 – 12 on the remaining 2 rice cylinders.
Frankenstein Pusheen:
- Using the cat face nori punch, punch out the design from the nori until you have 3 sets of eyes, 3 ear triangles (these will become Pusheen’s mouth), and 15 whiskers (9 of these will become Pusheen’s forehead stripes, and 6 will become the angry eyebrows) – this will make enough for 3 Pusheens total.
- Optional: Take the nori ear triangles, and, with scissors, carefully trim the corners until they’ve become slightly rounded.
- Using a piece of nori that has a straight edge (can be a new piece or scrap), use scissors to cut off a thin, straight line. Repeat so that you have 2 straight nori lines. Take one nori line and cut it into several smaller pieces. All of these pieces will come together to form Frankenstein Pusheen’s “stitching” that wraps around her upper body.
- Take the uncooked spaghetti noodle and color it black with the black food marker. Allow to dry, then break it into 12 “whiskers” (approximately 0.5 cm long) – this will give you enough whiskers for 3 Pusheens (each Pusheen requires 4 total).
- Optional: Using a knife, cut a tiny triangle from the ham – this will become the pink part of Pusheen’s mouth. Make sure it’s smaller than the nori mouth piece.
- Add the green rice to the nigiri sushi mold (reserve 2 teaspoons for later), keeping the mold inside the rectangular holder it comes in. With the back of a rice paddle or spoon, gently press down the rice until it has filled all of the crevices and is relatively flat on top.
- Place the top piece of the mold onto the rice, and press it down until it connects with the piece that’s filled with rice. Carefully remove the mold from it’s rectangular holder, flip over, and gently push against the push indentations on the bottom of the mold until the 3 rice cylinders slide out. Do this over top a plate lined with plastic wrap. Fully wrap each rice cylinder in a fresh sheet of plastic wrap.
- To shape the body: Press down with your pinky finger into one end of the rice cylinder, until the beginning of 2 ears start to form on either side of your pinky. Lay the cylinder on a flat surface and, with the palm of your hand, gently “squish” the entire cylinder. Use your fingers and hands to smooth out the edges, until you’re left with a fat oval shape. Use your thumb and index finger to pinch and pull at the ears, until they become a little more pointy and defined.
- To shape the paws: Place 1/2 teaspoon of reserved green rice onto a small square of plastic wrap, and wrap fully. Press the rice together with your fingers (to make it more compact), and roll it around gently in the palm of your hand, until a tiny ball is formed. Smooth out the ball with your fingers as needed. Repeat with the remaining green rice to form the other 3 paws.
- Repeat Steps 8 & 9 to shape the remaining 2 rice cylinders.
- Using tweezers, apply the nori mouth (AKA the ear triangle piece) onto the Frankenstein Pusheen body. If you have the optional pink ham piece for the mouth, apply it carefully to the center of the nori mouth, to make it look like the mouth is “open”. Use some honey or mayo to help it stick better.
- Using tweezers, apply the nori eyes, angry eyebrows, and forehead stripes. Carefully insert 2 black spaghetti whiskers on both sides of Pusheen’s face.
- Using tweezers, wrap the thin nori line around the upper part of Pusheen’s body (right around where the front paws would be). Place the small nori lines on top to give Frankenstein Pusheen her “stitches”.
- Using tweezers or chopsticks, apply the rice paws to Pusheen’s body. Feel free to use honey to help them stick better, or insert a small piece of uncooked spaghetti into the back of each and insert them into the rice like you would a pushpin.
- Repeat Steps 11 – 14 on the remaining 2 rice cylinders.
Notes
- Be sure to watch the video tutorial to better understand the instructions for shaping the rice – a visual demonstration is always more useful than written instructions.
- Full recipe + video tutorial for the yellow & orange rice can be found in the Candy Corn Onigiri post (just halve the amounts given).
- Full recipe + video tutorial for the green rice can be found in the Pusheenosaurus Bento post (just halve the amounts given).
© Love At First Bento. All images and content on this site are copyright protected. Please do not use any image without my prior permission. If you’d like to share this recipe on your own site, you are required to (1) link back to this post and (2) rewrite any instructions in your own words.
Don’t miss these other spooktacular Halloween bento creations:


![Vulpix Pikachu Bento Box - Pokemon fans will FLIP over this insanely adorable Pokemon bento, which features Pikachu dressed up as a Vulpix! 100% edible & perfect for decorating rice, this bento can easily be created by anyone thanks to my 'secret hack' for easily & accurately creating images out of food. Get the recipe at: loveatfirstbento.com [character bento, kyaraben, lunch]](https://loveatfirstbento.com/wp-content/uploads/2018/12/Vulpix-Pikachu-Bento-2-370x240.jpg?x21322)
Comments (9)
ahhhh so cute i can’t deal!! so impressed by all the patience you have to make your bentos continually look awesome lol. and oooh those swirls in the tamagoyaki; is that seaweed or black food coloring (or neither)?
hehe thank you so much for the kind words Heather! <3 The black swirls in the tamagoyaki are indeed nori seaweed; just add a layer of it atop the egg before you roll it up, and you've got a cool black swirl effect 😀
Oh my goodness. I can’t decide which one I love more ?. If I had to pick, I’m loving the face on frankensheen!
I know, such a hard pick right? 🙂 Frankensheen is just the cutest with that “scary” face!
Shannon, your bentos are absolutely ADORABLE! Love the all the details and creativity. Not only these will make little kids happy, I think all adults will melt over these bentos too! The candy corn pusheen is too cute to eat! ?
Thank you so much for the incredibly kind words Lok – it really means a lot! <33 Your comment totally made my day 🙂
The cuteness factor in that box is over the top! You are so creative. I love how you use natural colorings too.
Thank you so much for the kind words Ann! And yes, I always do my best to use all natural food coloring whenever possible 🙂
[…] 14. Halloween Pusheen Surprise Bento Box […]