
Here on Love at First Bento, we feature an all new onigiri recipe every month in a series called Monthly Onigiri. This month, we’re going to learn how to make classic onigiri – a bento box staple! Plus, an easy onigiri filling that will take you less than 10 seconds to prepare.
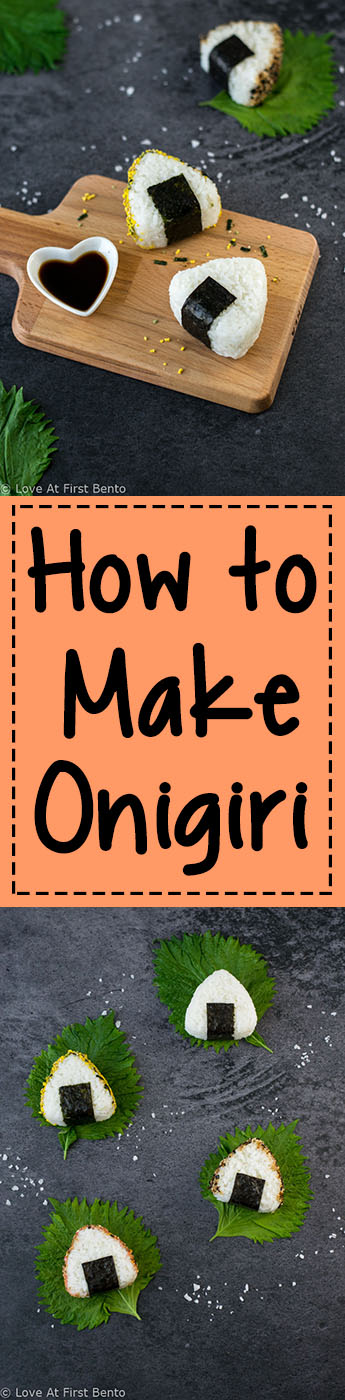
To kick-off our first EVER onigiri post, we’re going to dissect, reassemble, and admire the classic, triangle-shaped onigiri. Before we dive head-first into that, however, there’s one thing we should probably clear up: what, exactly, is onigiri?
Known as “rice balls” in English (and also sometimes called musubi), onigiri are those cute triangular bundles of rice ubiquitous with the Japanese lunch scene. They come in all shapes and sizes, and can be filled or sprinkled with all sorts of mouth-watering goodies. So, why are they called rice balls if they’re actually rice triangles? Just chalk it up to a translation thing.
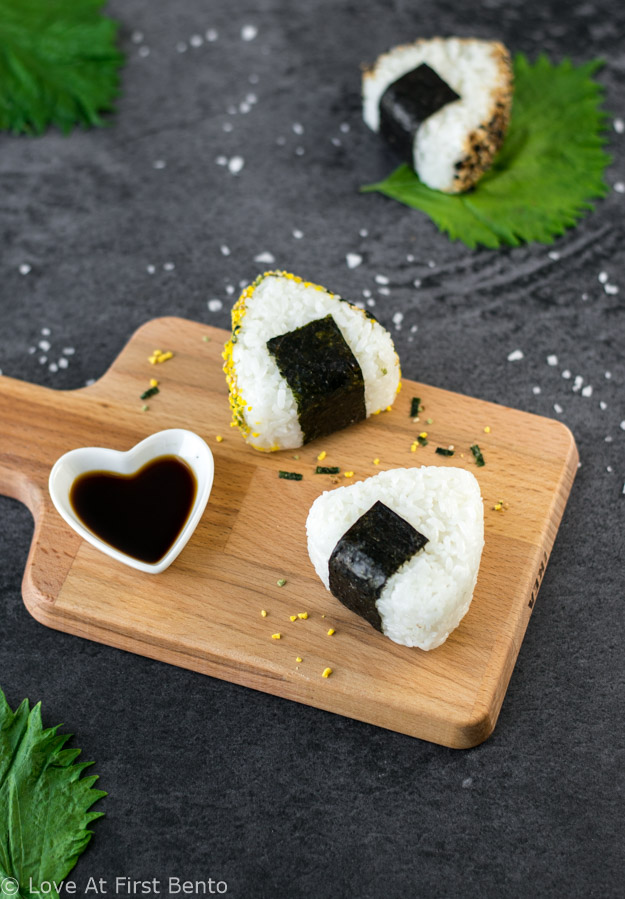
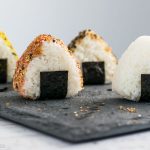
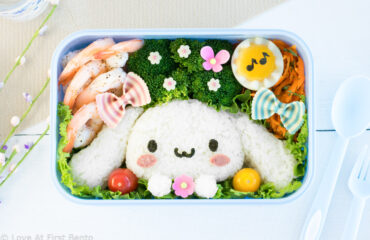
I decided to go full-on classic with these triangular onigiri, decorated with a strip of nori seaweed at their base. This simple, monochromatic decorating method is literally the symbol of all things onigiri – if you don’t believe me, go check the food emojis on your smartphone. 😉
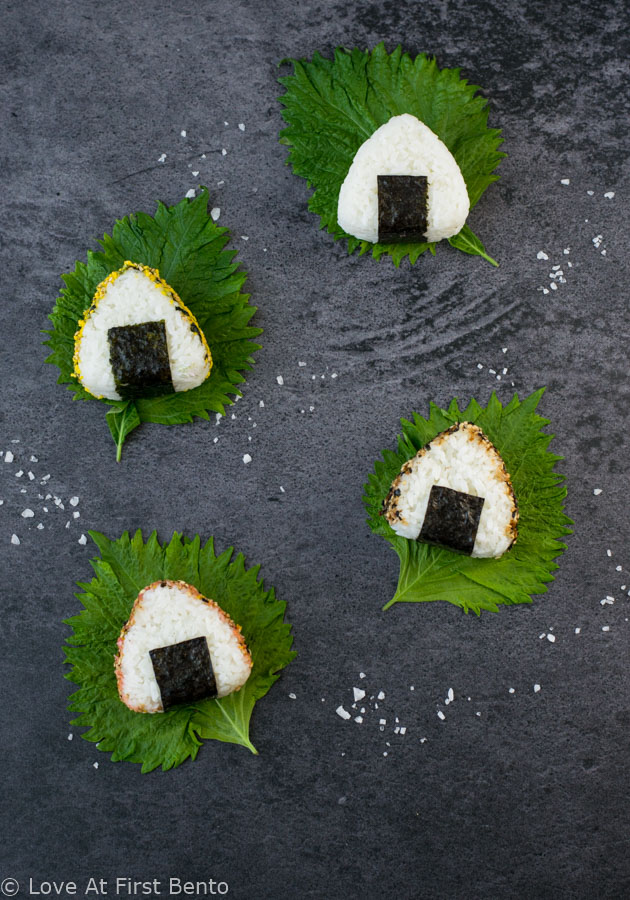
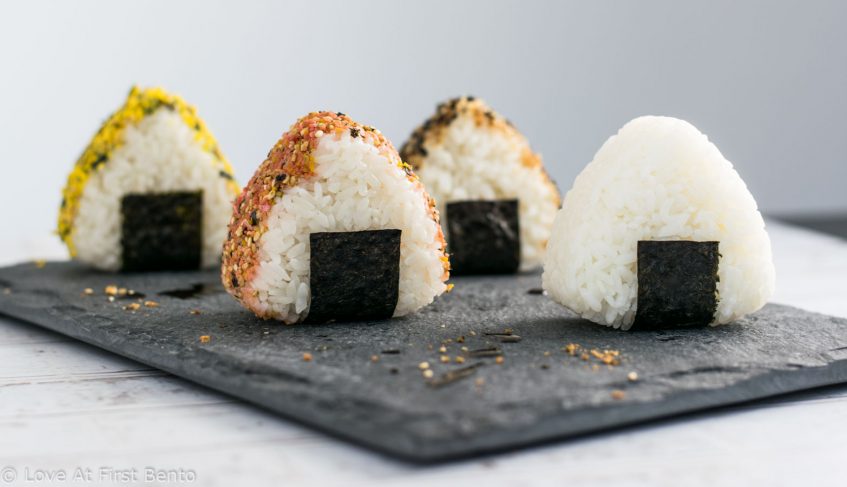
I also added some furikake (Japanese rice seasoning) along the edges of a few, just because I seem to have some subconscious urge to always make things as colorful as possible. Sprinkling onigiri with furikake is actually a super easy, quick way to add some pizazz to your rice balls, as well as an extra layer of flavor. I recommend the following 3 classic flavors to get you started:
- Norikomi Furikake (blend of nori seaweed flakes + sesame seeds)
- Salmon Furikake (dried salmon flakes + nori seaweed)
- Noritama Furikake (nori seaweed + powdered egg granules + sesame seeds)
When it comes to making onigiri, it all boils down to two methods (and I bet you’ll know immediately which one I prefer):
- Classic Method: shaping the rice by hand.
- Easy Method: using an onigiri mold.
Watch how to make Classic Onigiri (30 sec):
I am of the belief that, if there’s a way to mold rice without using your hands, then do it. This is mostly because I lack the artistic ability to sculpt things into identifiable objects (as, I imagine, the majority of the world does). So yes, we are going to be using a mold for this. In case you’re not already sold, here’s my onigiri mold elevator pitch:
- 100% dishwasher safe.
- Literally does all of the work for you.
- Faster than shaping by hand (especially if your mold has 2 slots, like mine!).
- Guarantees success every single time.
Note: that last point does depend on how well you can follow two KEY instructions, but we’ll save that for the recipe.
So… have I converted you into a rice mold user yet? I am not even kidding when I say it is one of the best things I’ve ever purchased. You will have no regrets, friend. Only plump, delicious onigiri. You’ll totally feel like an onigiri god. 😎
For the filling, I stuck with another classic: okaka, which is literally just soy sauce + bonito flakes (katsuobushi). It’s one of those recipes that isn’t even a recipe, it’s so easy. And the rice acts as the perfect foil for the salty, umami-tastic flavor bomb it’ll become once you put it all together. What can I say, it’s a classic for a reason.
Some other classic onigiri fillings include:
- Umeboshi (Japanese pickled plum)
- Tuna or salmon salad
- Beef or egg soboro
- Tarako (salty cod roe)
- Lightly salted edamame beans (this is best when mixed in with the rice before shaping)
- Corn kernels or peas (again, best to mix these in with the rice before shaping)
For even more unique and delicious onigiri recipe ideas, check out the Onigiri Recipe collection on Love At First Bento.
Now before you head off to make your onigiri, there is one golden rule you absolutely MUST follow when making rice balls of any size, shape, or flavor: you HAVE to use Japanese short-grain rice. There are no exceptions to this rule. This type of rice is the only rice sticky enough to maintain it’s shape when molded, yet not so sticky that it becomes a clump of gluey goop (like with glutinous rice) when cooked. If in doubt, any bag of rice that says “sushi” on it will work. So please, promise me you won’t try to make onigiri with basmati or jasmine or any other kind of rice – the results will not be in your favor. At all.
So, now that we’ve had our behind-the-scenes VIP look into all things onigiri, I think it’s about time we actually make some! Prepare to meet your newest lunch BFF everyone. 😉
How to Make Onigiri (Japanese Rice Balls)

 Category: Onigiri
 Cuisine: Japanese
Description
Step-by-step instructions for making classic triangle onigiri (AKA Japanese rice balls) using a rice mold, + an easy and delicious filling of soy sauce & bonito flakes that literally takes 2 seconds to make!
Ingredients
Food Items:
- Japanese short-grain rice, cooked (please make SURE it’s specifically this rice – no other type of rice will work)
- Nori seaweed, cut into 9 cm x 3 cm strips*
- Salt (optional)
Okaka Filling (for one rice ball):
- 1 tablespoon bonito flakes (katsuobushi)
- 1/4 – 1/2 teaspoon soy sauce
Recommended Tools:
- Triangular onigiri mold
- Plastic wrap
Instructions
Okaka:
- In a small bowl, mix together bonito flakes and soy sauce. If necessary, add more soy sauce a drop at a time – be careful, as you don’t want the filling to be runny.
Onigiri:
- KEY INSTRUCTION #1: With a damp paper towel, wipe the entire inside of your onigiri mold until it’s completely damp. Also wet the removable top piece as well, on the side that will push into the rice.
- Optional: Sprinkle the inside of the mold with a tiny pinch of salt. I like to rotate the mold in my hands to help spread the salt more evenly on all sides.
- Using a rice paddle or spoon, fill your mold just below the halfway point with warm rice. KEY INSTRUCTION #2: Make sure you press the rice gently but firmly into all the crevices of the mold.
- With the handle of your rice paddle or spoon, make a small indentation in the center of your rice, just deep enough to hold your filling.
- Spoon your okaka filling into the indent. It’s okay if you pile it up a bit.
- Fill the rest of your mold with rice, until about the 3/4 point – you’ll need some room for the removable top piece to fit on top. Optional: Sprinkle a little salt on top of the newly added rice.
- Take the removable top piece and insert it into the mold. Push with gentle pressure until the top piece is fully inserted into the mold.
- Remove the top piece, and flip the rice mold over, making sure to do this over top of a plate covered in plastic wrap. If your rice mold has little push indents on the bottom, push it gently with your thumb, then gently tap the bottom and sides of the mold until the onigiri slides out.
- Attach your strip of nori onto the onigiri.
- Wrap onigiri in plastic wrap until ready to serve or pack in a bento.
Notes
- *The size of your nori strips will vary depending on the size of your mold, but you can use these measurements as a starting point.
- Here’s the best way to reheat onigiri: cover in a damp paper towel, and microwave for 30 – 40 seconds. They’ll taste just like fresh ones!
- If you’re interested in making spherical onigiri, then I highly recommend this mold – it makes 3 mini balls, and it’s SUPER fun and easy to use!
© Love At First Bento. All images and content on this site are copyright protected. Please do not use any image without my prior permission. If you’d like to share this recipe on your own site, you are required to (1) link back to this post and (2) rewrite any instructions in your own words.


Comments (8)
Looks yummy. I’m definately going to try making some of these…I was wondering how long they keep if you want to make them ahead of time? Thanks and great job on your new venture!!
Thanks so much, Brenda! 😀 I probably wouldn’t keep them for longer than 2 days, as they’ll get quite hard after sitting in the fridge for a while. Eating them fresh really is the best! Having said that, I usually make mine the day before, and just make sure to wrap it in plastic wrap while the rice is still warm – that way, the heat will help generate some moisture. Salting your onigiri will also help to maintain freshness.
Since you can’t really avoid the onigiri hardening up slightly after they go in the fridge, my biggest tip would be to follow these instructions when re-heating:
1) Wrap the onigiri in a damp paper towel.
2) Microwave for around 30 – 40 seconds, until rice becomes soft.
If I pack them in a bento box, I include some damp paper towels in a plastic bag to make it easy for the recipient to heat them up wherever they are 🙂
These look delicious! I love your photos and tutorials. Cant wait to try these!!
★★★★★
Thank you so much! 😀
These seem so easy to make and delicious! I was just wondering- how much sushi rice do I need to cook, and can they be eaten cold? I want to take them for lunch at University but we have no microwave there :'(
★★★★★
Hi Joanna! Onigiri are super fun to make, and definitely easy if you use a mold! How much rice you’ll need will depend on the size of your onigiri mold, as well as how full you stuff it, but generally speaking, I find that 1 cup of uncooked sushi rice can produce 4 good sized onigiri with filling (possibly 5 or 6 depending how full you fill the mold). You can typically expect to fill a normal sized onigiri mold with about 1/2 cup of cooked sushi rice, so use that as a rough guideline. Hope that helps a bit! I’d suggest you try cooking 1 cup of sushi rice for your first batch, then see how many onigiri you can get out of that.
And yes, you can eat them cold! If possible, try making the onigiri the same day you’ll be eating them, otherwise they will harden once they’ve hit the fridge, but onigiri are eaten at room temperature all the time. The key is to make sure they’re well seasoned (almost over-seasoned), so that they taste just as good cold! So make sure you salt your rice well and add a really yummy, flavor-packed filling (like my okaka recipe included here)! 🙂
You can also make this with sweet/sticky rice
You could, but it would produce a different, less traditional texture (and possibly a subtle flavor difference).