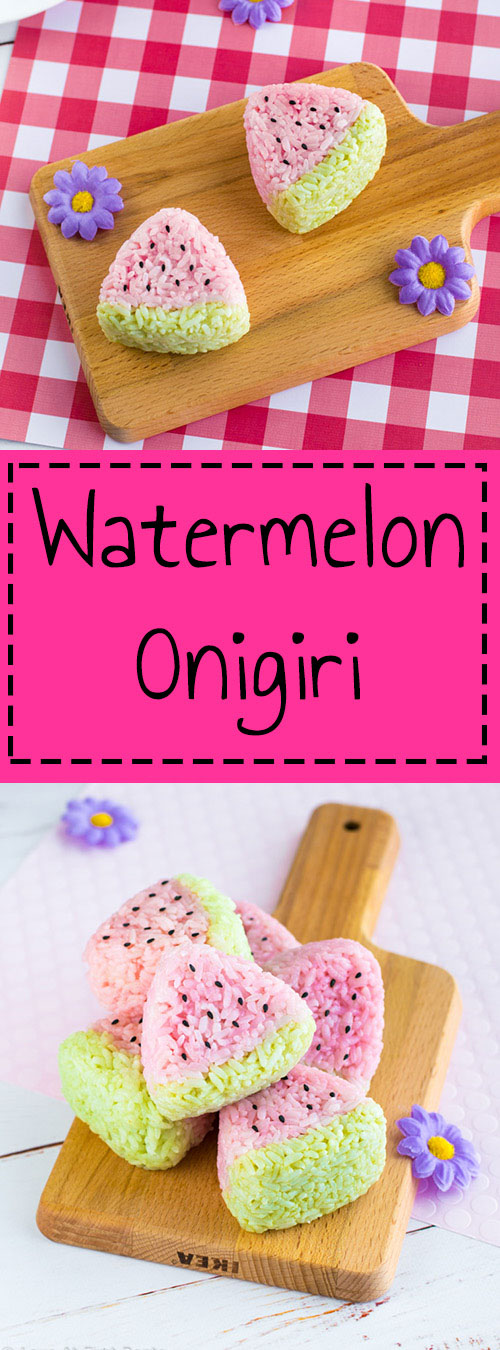
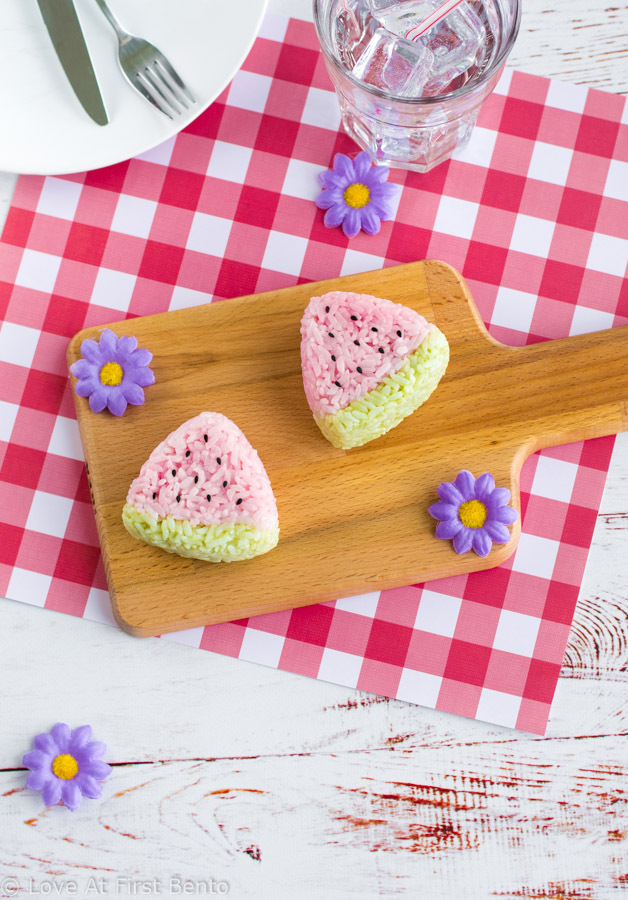
It’s time for Monthly Onigiri! For August, we’re making Watermelon Onigiri!
You guys, it’s already happening. People are talking about autumn. Exclaiming how it’s less than 1 month away. Counting down the days until Starbucks brings out the you know what. Yes, the pumpkin spice bomb has officially dropped. But hold up: Can we just consider for one quick second here how we still have 26 days of perfectly good summer left?
That’s why this month’s onigiri is cranking up the summertime feels to maximum output: I’m talking watermelon onigiri, here to show summer that we haven’t forgot about it just yet.
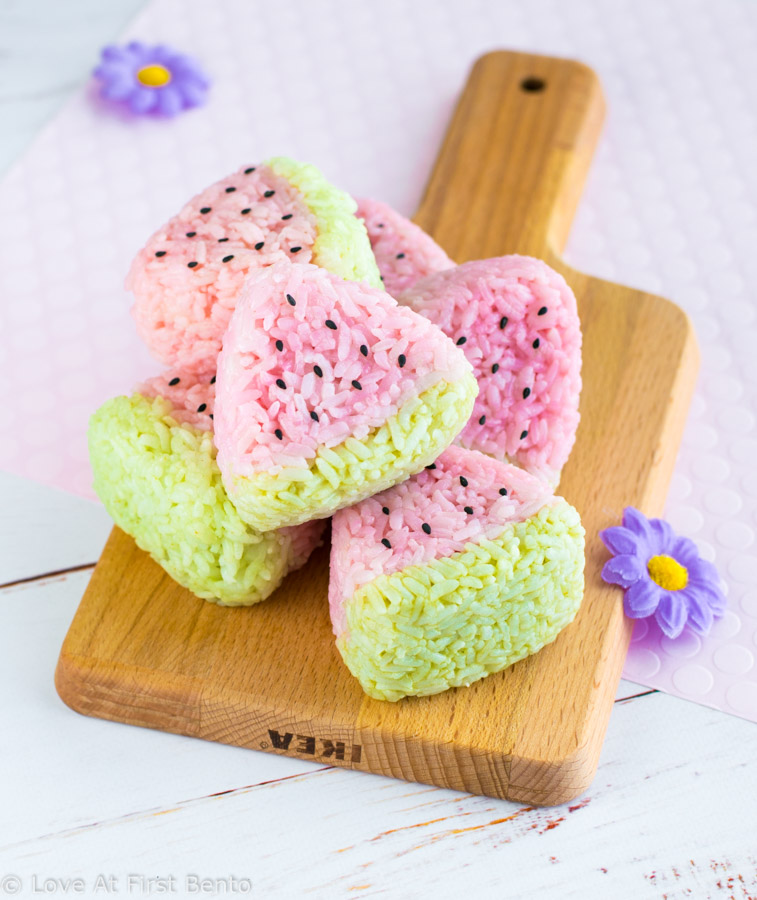
So what’s one quintessential summer activity you + watermelon onigiri need to do together ASAP? A picnic! Let’s just take a second to imagine a lovely summer picnic scene, set the mood a little. Checkered blanket? Check. Picnic basket? Check. Cute date: Check (?). Now, just imagine taking out these sweet little watermelon onigiri, all nicely tucked into a bento box or basket, and offering one to your date. I’m pretty positive that, once they lay eyes on these, the cuteness will shatter their mind. They’ll have little internal explosions as they try and resist the urge to squeal at the onigiri cuteness. It’s inevitable. Cute food just has irresistible powers like that, and no one is immune.
Watch how to make Watermelon Onigiri (30 sec):
These watermelon onigiri are like little triangles of summer bliss, radiating refreshing waves of eternal summer love. They will slowly but surely detoxify your body of any premature pumpkin spice cravings. They will ensure your summer days have not yet ended.
So, what are you waiting for? Start planning a summer picnic – embrace the sacred last days of summer – and make it the cutest picnic you’ve ever experienced, by packing your basket with these irresistible watermelon onigiri.
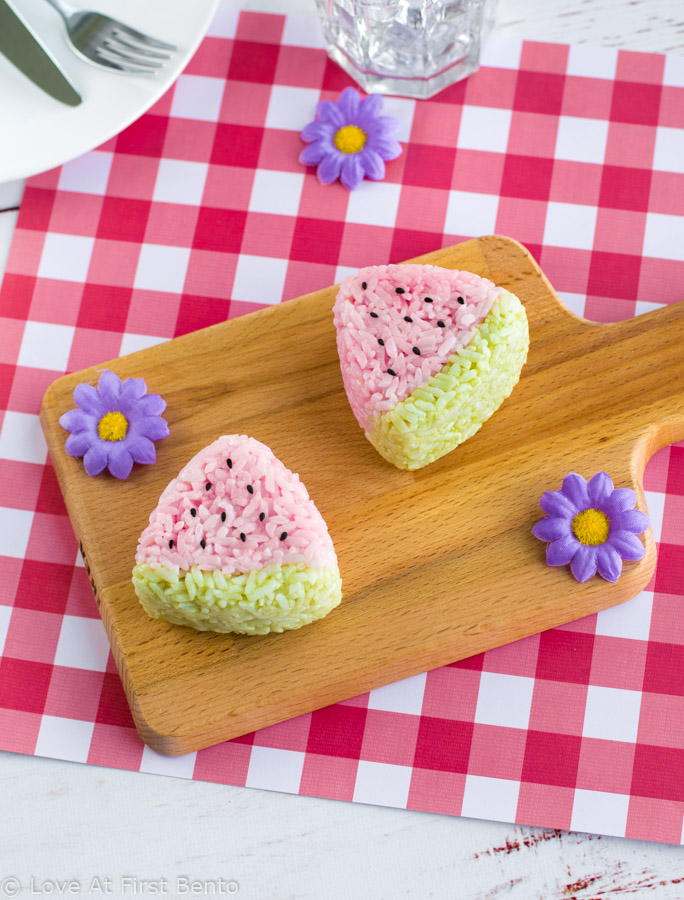

Watermelon Onigiri
 Yield: 2 - 3 Onigiri
 Category: Onigiri
Description
Watermelon onigiri are the quintessential summer treat! Learn exactly how to make these fun & easy rice balls with step-by-step instructions.
Ingredients
Food Items:
- 2 cups cooked Japanese short-grain rice, divided into 1.25 cups & 3/4 cup portions
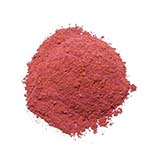
- 1/8 teaspoon beet powder
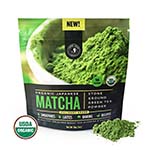
- 1/8 – 1/4 teaspoon matcha powder
- Black sesame seeds
Recommended Tools:
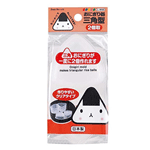
- Onigiri mold
- Plastic wrap
Instructions
Pink Rice:
- In a small bowl, mix together beet powder and 2 – 3 tablespoons of warm water. Mix until fully dissolved.
- Add beet powder mixture to 1.25 cups of warm sushi rice, and mix until evenly incorporated. Set aside.
Green Rice:
- In another small bowl, mix together matcha powder and 2 – 3 tablespoons of warm water. Mix until fully dissolved.
- Add matcha mixture to 3/4 cup of warm sushi rice, and mix until evenly incorporated.
Watermelon Onigiri:
- With a damp paper towel, wipe the inside of your onigiri mold until it’s completely damp. Fill 3/4 of the triangle with the pink rice, making sure to press down lightly with the handle of a rice paddle or spoon. Make sure you leave the bottom of the triangle empty, and have a clear, relatively flat dividing line formed.
- In the empty space left at the bottom of the triangle, add the green rice, pressing down with the back of a rice paddle, spoon, or chopstick to ensure it fills all the crevices.
- Once your onigiri mold is filled up just past the halfway point, insert the removable top piece and push until it’s fully inserted into the mold. Remove the top piece, and flip the rice mold over, making sure to do this over top of a plate covered in plastic wrap. If your rice mold has little push indents on the bottom, push it gently with your thumb, then gently tap the bottom and sides of the mold until the onigiri slides out.
- Using tweezers, add black sesame seeds to the pink portion of the onigiri – these are the black watermelon seeds. I used about 10 for a single watermelon onigiri.
- Repeat all steps until you’ve used up all your rice. Wrap your onigiri in plastic wrap until ready to serve.
© Love At First Bento. All images and content on this site are copyright protected. Please do not use any image without my prior permission. If you’d like to share this recipe on your own site, you are required to (1) link back to this post and (2) rewrite any instructions in your own words.

